
* It's all about the ears. You can roll out marshmallows for floppy ones like I did, or get a giant cookie and break it in half to form two perky ears. Just make sure the cookie is big enough to make proportional ears for your cake. (I had a small cookie and found myself looking at an Easter cat after putting them on.)
* Use whatever you have on hand. Any color frosting will do, as will whatever candies or chocolate chips are in the cabinet. Not worried about gluten and dairy? Any cake and frosting mix will do.
* To save money (instead of buying a bunch of ingredients I didn't already have on hand), I opted for some store-bought gluten- and dairy-free vanilla frosting. I dyed it pink with food coloring.
Ingredients
Cake*
2 c. garbanzo bean flour
1 c. potato starch
1/2 c. arrowroot
2 tbsp. baking powder
1/2 tsp. baking soda
1 tsp. xanthan gum
1 tsp. salt
2/3 c. cooking oil
1 1/3 c. agave nectar
3/4 c. applesauce
3 tbsp. vanilla
zest of one lemon or orange
1 c. hot water
store-bought frosting (whatever flavor strikes your fancy)
1 bag of organic, unsweetened coconut
* Don't be scared of these obscure sounding ingredients! I was intimated when I first started reading about them, but you can find all of them in the baking aisle at Whole Foods--they're a lot more nutrient dense than the average processed white flour.
Decorations
2 semi-sweet chocolate chips (for the eyes)
1 sugar-coated gumpdrop candy (for the nose)
1 red licorice lace, cut into 6 same-sized pieces (for the whiskers)
2 mini marshmallows (for the teeth)
3 large marshmallows (for the tail)
What to do
1. Preheat the oven to 350 degrees. Spray a small and large round cake pan (bowl-shaped ones are ideal if you have them, otherwise basic round ones will do) with non-stick cooking spray.
2. In bowl, whisk flour, potato starch, arrowroot, baking powder, baking soda, xanthan gum, and salt.
3. Make well in center of dry ingredients. Pour in oil, agave nectar, applesauce, vanilla, and zest. Mix until just combined. Stir in hot water until smooth and uniform in texture.
 4. Pour the batter into the smaller bowl until about an inch from the top, then pour the rest into the larger one. Bake smaller cake for 40 minutes and larger cake for 45 minutes, or until knife inserted into center comes out clean.
5. Let the cakes stand in their pans for 30 minutes, and then carefully transfer them to a wire rack. Cool completely.
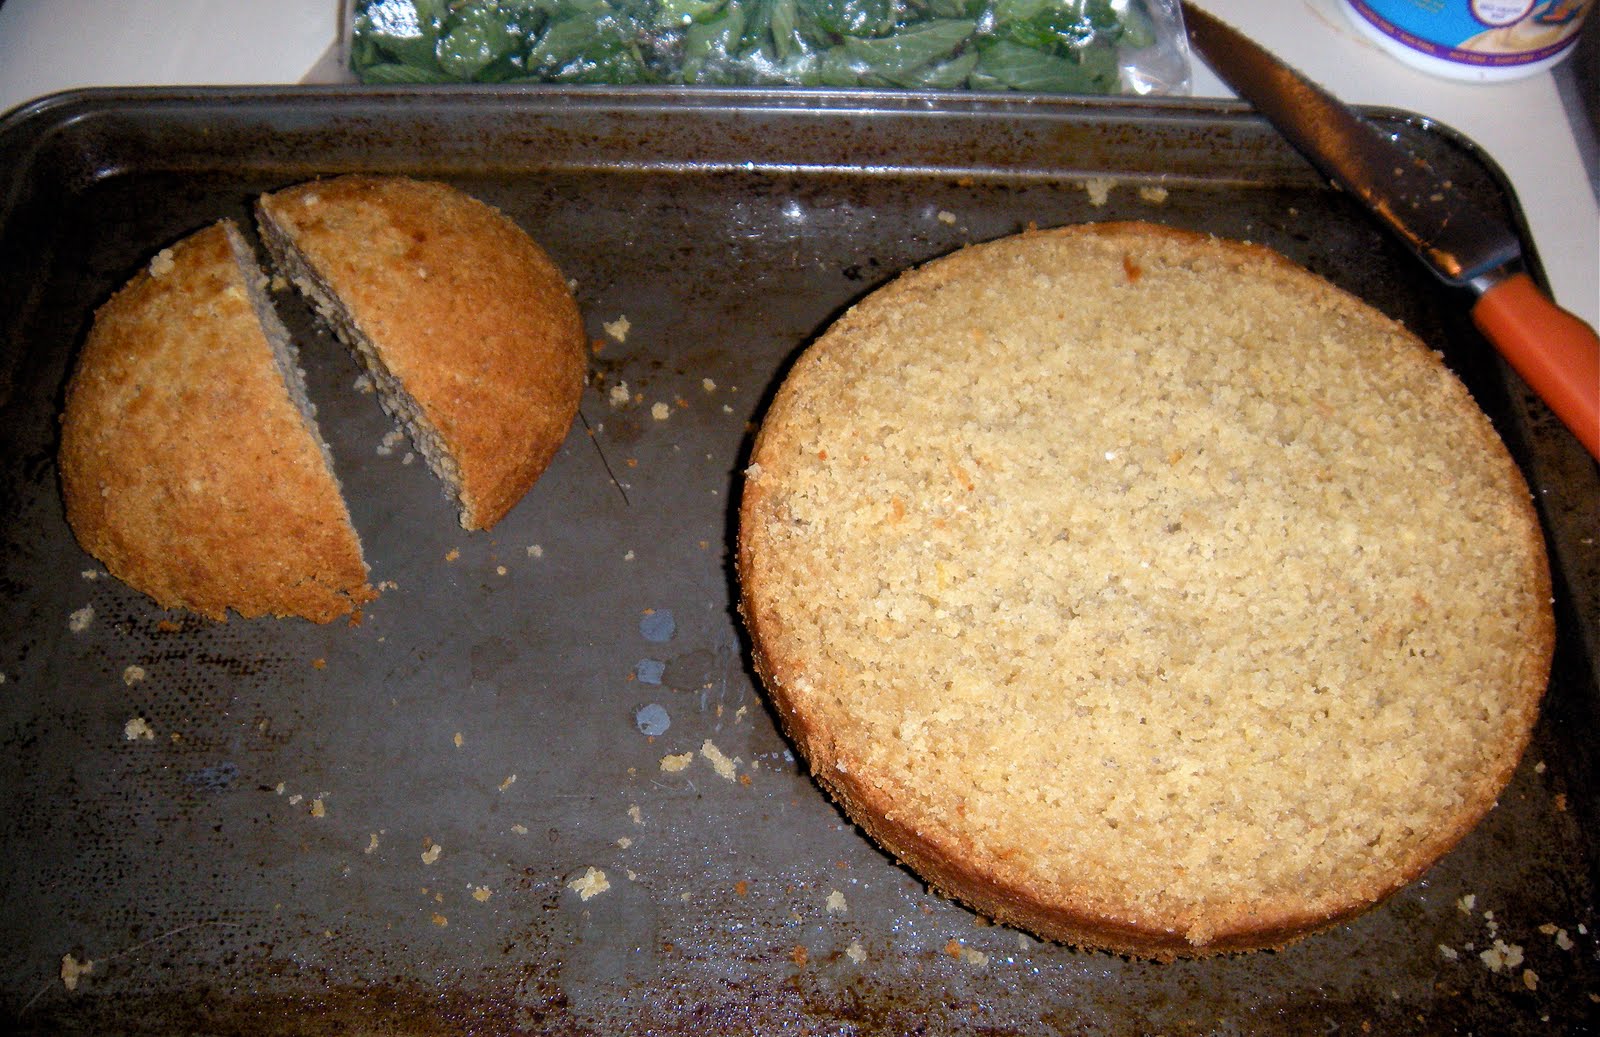 6. Cut the larger cake in half, forming two half-circle pieces. Spread frosting over the flat side of each piece. Place the pieces, cut sides down, on work surface and press the frosted sides together. Frost the entire piece and press coconut on it to cover the surface entirely. Repeat the process with the smaller piece. Place larger cake on serving platter and place smaller cake up on side of it. Voila! You have a head and a body.
Decorating
1. Ears: Press on either rolled out marshmallows (for floppy ones) or a half a large cookie above each eye.
2. Face: Use two chocolate chips for eyes, licorice as whiskers, a gumpdrop as the nose, and two mini marshmallows as the teeth.
3. Roll three large marshmallows into a ball and stick them on the other end with frosting for the tail.
4. Decorate your serving tray with leftover candies, mint leaves (like I did), or plastic Easter eggs.
No comments:
Post a Comment